If you manage social media for a business, you probably know the feeling of opening Instagram, Facebook, Pinterest, or another platform and thinking, “What should I post today?” The problem usually isn’t a lack of ideas. The problem is that your ideas, captions, images, posting dates, hashtags, and performance numbers are often stored in different places. That is where a social media content plan becomes useful.
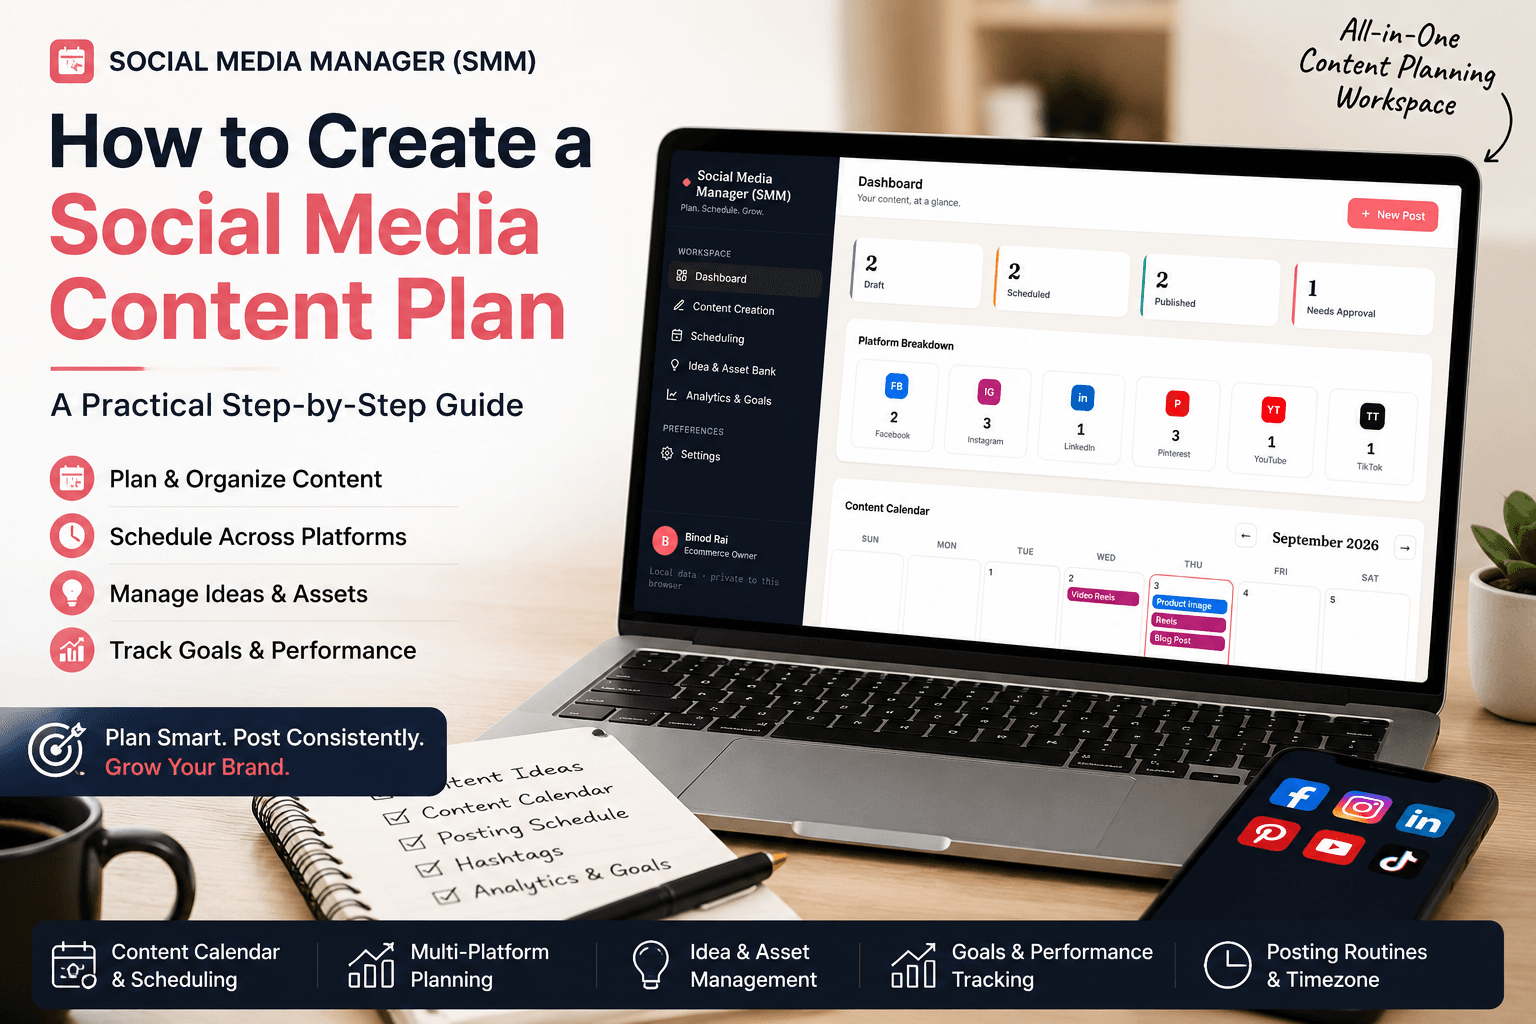
Instead of deciding what to publish every day, you can create a simple system for planning your content in advance, organizing your ideas, assigning posts to different platforms, and reviewing what actually worked.
In this guide, I’ll show you a practical way to build a social media content plan that you can repeat every week or month.
What Is a Social Media Content Plan?
A social media content plan is a system for deciding what content you will publish, where you will publish it, when you will publish it, and what you want that content to accomplish.
A useful plan can contain:
- Content topics
- Social media platforms
- Captions
- Images or other media
- Content categories
- Publishing dates
- Publishing times
- Hashtags
- Post status
- Content goals
- Performance results
Think of it as the operating plan behind your social media activity. Your social media content calendar is the part that helps you see this plan by date.
Why You Should Plan Social Media Content in Advance
Posting every day without a system creates unnecessary decisions. You have to decide what to post, write the caption, find an image, choose hashtags, decide which platform to use, and remember when the post needs to go live.
Doing all of this at the last minute can make social media feel like a full-time administrative task. Planning ahead changes the workflow.
Instead of:
Think → Create → Post → Repeat
you can work with:
Plan → Create → Schedule → Publish → Review → Improve
This approach also makes it easier to maintain consistency without needing to create everything from scratch every day.
Step 1: Decide What You Want Your Social Media to Achieve
Start with the outcome, not the post. Ask yourself:
What am I trying to achieve with my social media content?
Your goals might include:
- Growing followers
- Increasing reach
- Getting more website clicks
- Increasing engagement
- Promoting products
- Building brand awareness
- Educating your audience
- Creating a stronger community
For example, a product-based business might have a goal of increasing website traffic. That goal can influence the content you create.
Instead of publishing random promotional posts, you could create educational content around problems your potential customers are already interested in and then guide interested readers toward your website.
Your content becomes part of a larger strategy rather than a collection of unrelated posts.
Step 2: Choose the Platforms You Can Actually Manage
You don’t need to be everywhere. Choose platforms that make sense for your audience and your content.
Common platforms include:
- YouTube
- TikTok
The important question isn’t:
“How many platforms can I use?”
It is:
“How many platforms can I manage consistently?”
If you have limited time, it may be better to manage three platforms properly than six platforms inconsistently.
You can also adapt one strong content idea for multiple platforms instead of creating completely different ideas for every channel.
Step 3: Create Content Pillars
One of the easiest ways to stop running out of content ideas is to create content pillars. A content pillar is a recurring category that gives you direction when deciding what to publish.
For example, you could use these four pillars:
Educational
Teach something useful.
Examples:
- Tutorials
- Tips
- How-to posts
- Checklists
- Mistakes to avoid
- Explanations
Promotional
Show what your business offers.
Examples:
- Product features
- Product demonstrations
- New products
- Offers
- Benefits
- Use cases
Engagement
Give your audience a reason to interact.
Examples:
- Questions
- Opinions
- Polls
- Discussions
- Community posts
Behind-the-Scenes
Show the process behind your brand.
Examples:
- How you create products
- Your workflow
- Workspace
- Business processes
- New projects
These four categories are also useful when organizing posts inside a content planner because you can quickly see whether your calendar contains a healthy mix of content types.
Step 4: Build a Social Media Content Idea Bank
Don’t rely on remembering ideas. Create one place where you can store them. When you think of an idea, write it down even if you don’t plan to use it immediately.
Your idea bank can contain:
- Future post ideas
- Blog topics
- Video ideas
- Questions from customers
- Frequently asked questions
- Product ideas
- Educational topics
- Promotional concepts
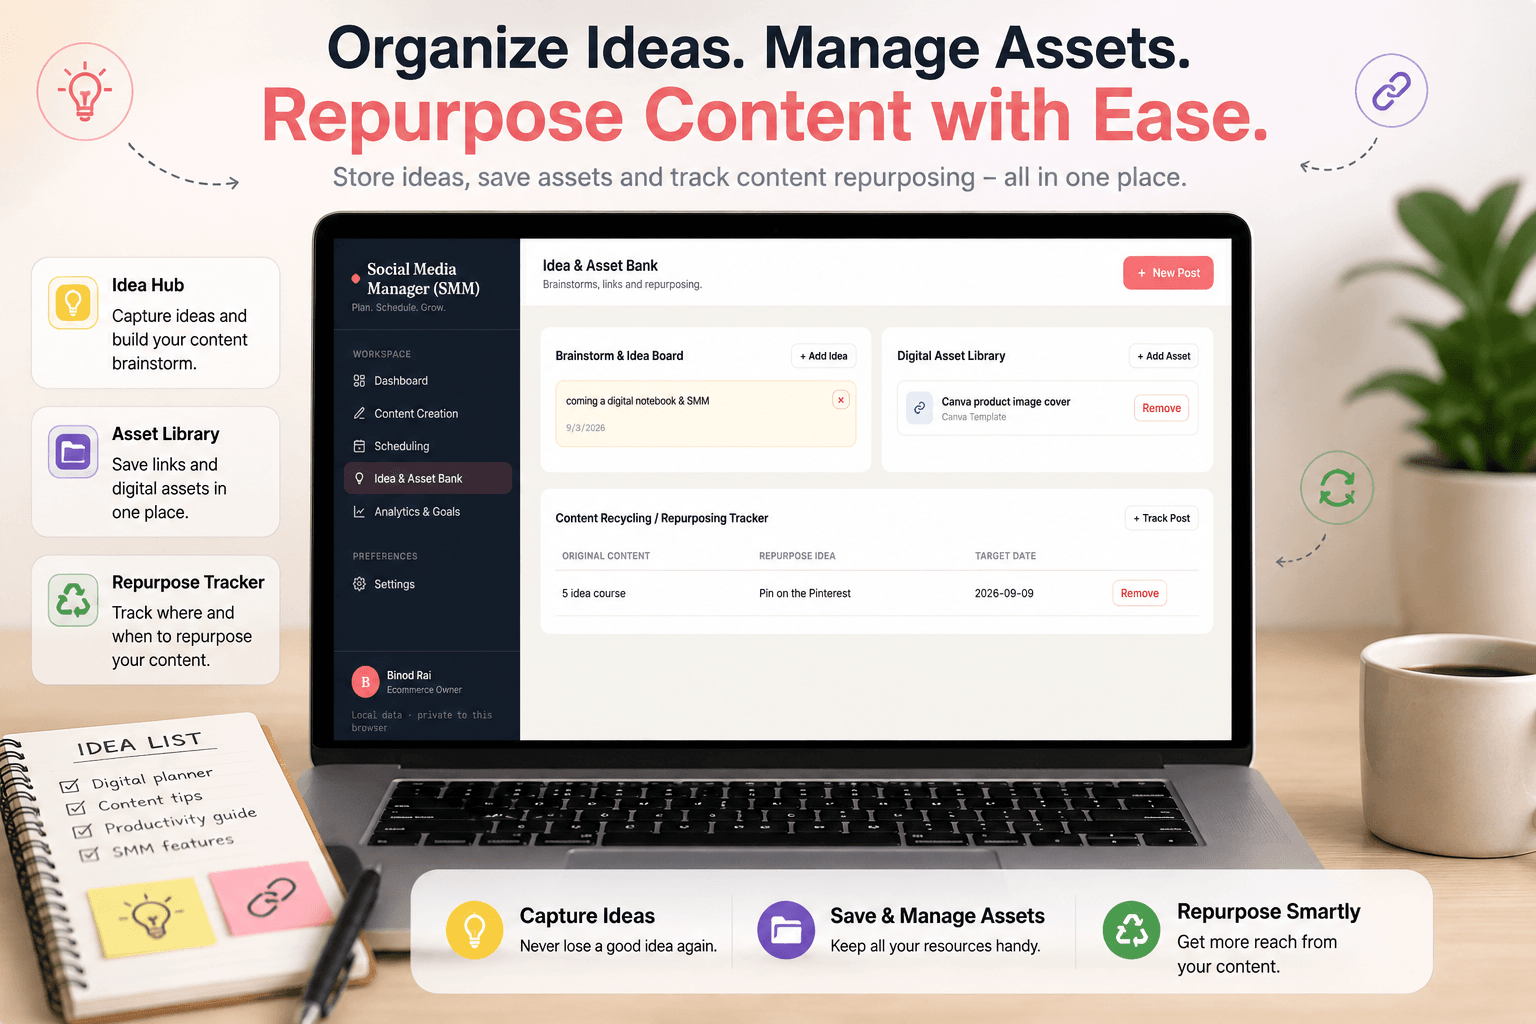
- Content to repurpose
For example, if your business is related to productivity, your idea bank could include:
- How to plan your week
- How to avoid procrastination
- Best productivity habits
- How to organize daily tasks
- Common planning mistakes
Later, you can turn those ideas into different types of social media posts. This is much easier than staring at an empty content calendar every Monday.
Step 5: Turn Your Ideas Into a Content Calendar
Once you have your ideas, give them dates. A simple social media content calendar can include:
| Date | Platform | Topic | Pillar | Status |
|---|---|---|---|---|
| Monday | Planning Tips | Educational | Scheduled | |
| Tuesday | Industry Tip | Educational | Draft | |
| Wednesday | Blog Promotion | Promotional | Scheduled | |
| Thursday | Audience Question | Engagement | Draft | |
| Friday | TikTok | Quick Tutorial | Educational | Needs Approval |
You don’t need a complicated spreadsheet. The purpose of the calendar is simply to answer:
What am I publishing next?
A calendar also makes gaps easier to spot. If you look at the next two weeks and see that there are no posts planned, you know exactly what needs attention.
Step 6: Create Your Posts Before the Publishing Date
Once your calendar is organized, start creating the actual posts. For each post, keep the important information together:
- Platform
- Caption
- Media
- Content pillar
- Date
- Time
- Hashtags
- Status
Keeping these details together reduces the amount of time you spend searching through different files and notes.
A simple workflow can be:
Idea → Draft → Review → Scheduled → Published
If someone else needs to approve your content, an approval status can also be useful.
Step 7: Organize Your Hashtags
Hashtags can become repetitive when you create many posts. Instead of starting from zero every time, organize commonly used hashtags into groups.
For example:
Brand Hashtags
Your own brand-related hashtags.
Topic Hashtags
Hashtags related to a specific subject.
Industry Hashtags
Hashtags related to your business category.
Campaign Hashtags
Hashtags created for a particular launch or campaign. You can then select the appropriate group while creating a post and adjust the hashtags when necessary.
The goal is not to use as many hashtags as possible. The goal is to make your workflow easier while keeping your hashtags relevant to the content.
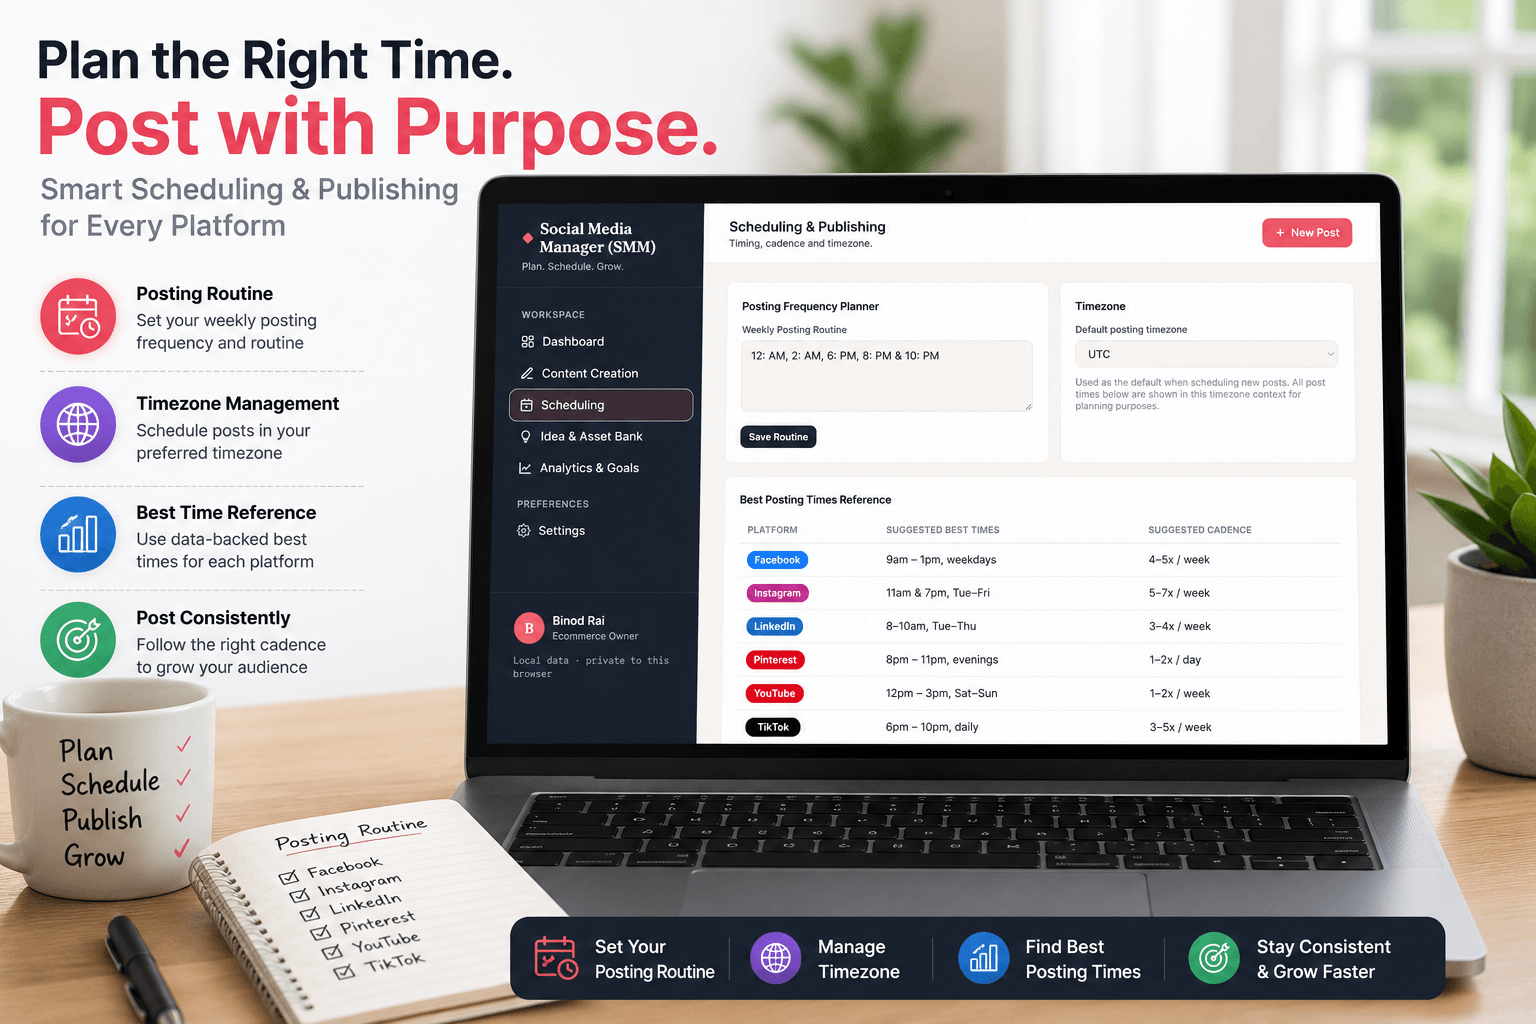
Step 8: Create a Posting Routine
A content plan works better when you create a routine around it.
For example:
Monday — Plan
Review your upcoming content and choose topics.
Tuesday — Create
Write captions and prepare visuals.
Wednesday — Organize
Add hashtags, media links, and post details.
Thursday — Review
Check upcoming content and make any necessary changes.
Friday — Analyze
Review the performance of recently published content. You can change this routine depending on your business. The important thing is to create a repeatable process.
Step 9: Track What Happens After You Publish
Planning content is not the end of the process. You also need to learn from your results.
Depending on your goals, you might track:
- Views
- Likes
- Shares
- Clicks
- Reach
- Followers
- Engagement
For example, imagine you publish three educational posts and three promotional posts. If the educational posts consistently receive more engagement, that is useful information.
It doesn’t necessarily mean you should stop promotional content. It may mean that educational content is a stronger way to attract attention, while promotional posts can be used later in the customer journey.
The important thing is to use your results to make better planning decisions.
Step 10: Repurpose Your Best Content
You don’t always need a brand-new idea. A useful piece of content can often become several pieces of content.
For example, one blog post can become:
- An Instagram carousel
- A LinkedIn post
- A Pinterest pin
- A Facebook post
- A short video
- A series of tips
This is especially useful when you are working alone or have limited content-production time. Create one strong idea first, then adapt it to the platform.
A Practical Example of Content Repurposing
Suppose your original topic is:
“How to Create a Monthly Budget.”
You could turn it into:
Instagram:
5 mistakes people make when creating a monthly budget.
Pinterest:
Monthly budget planning checklist.
LinkedIn:
Why financial planning matters for small businesses.
Facebook:
Ask your audience which budgeting method they prefer.
TikTok:
A 30-second explanation of how to start a monthly budget.
Blog:
A detailed guide to creating a monthly budget.
One core idea can therefore support an entire week’s content.
How to Manage Multiple Social Media Platforms Without Getting Overwhelmed
The biggest mistake is treating every platform as a completely separate project. Instead, create a central content workflow.
Start with:
One idea
Then decide:
Which platforms can use this idea?
Then adapt it:
Format → Caption → Visual → Hashtags → Date → Time
Finally, track:
Published → Performance → Learnings
This gives you a repeatable process instead of a collection of disconnected social media tasks.
What Should a Social Media Content Planner Include?
If you manage social media regularly, a useful planner should help you with more than just dates.
For example, you may want:
- A content dashboard
- Post creation
- Multiple platform selection
- Content pillars
- Post statuses
- A monthly content calendar
- Posting routines
- Timezone settings
- Hashtag groups
- Content ideas
- Asset links
- Content repurposing
- Goals
- Performance tracking
- Data export and import
These features address different parts of the same workflow: planning, organizing, publishing preparation, and reviewing content.
A Real-World Social Media Planning Workflow
Here is a simple workflow you can use every month.
1. Set Goals
Decide what you want to improve.
2. Choose Platforms
Focus on the channels that matter to your audience.
3. Select Content Pillars
Choose the recurring subjects you want to cover.
4. Brainstorm Ideas
Add potential topics to your idea bank.
5. Build the Calendar
Assign topics to specific dates and platforms.
6. Create Posts
Write captions and organize your media.
7. Add Hashtags
Use relevant hashtag groups.
8. Schedule Your Content
Organize dates, times, and posting routines.
9. Publish
Follow your planned calendar.
10. Review Performance
Record the results and use them to improve your next plan.
This creates a simple cycle:
Plan → Create → Organize → Publish → Analyze → Improve
How I Keep Social Media Content Organized
When designing a content planning workflow, I found that the difficult part isn’t simply writing posts.
There are many small pieces around each post: the platform, caption, visual, content category, status, date, time, hashtags, and eventually the performance data.
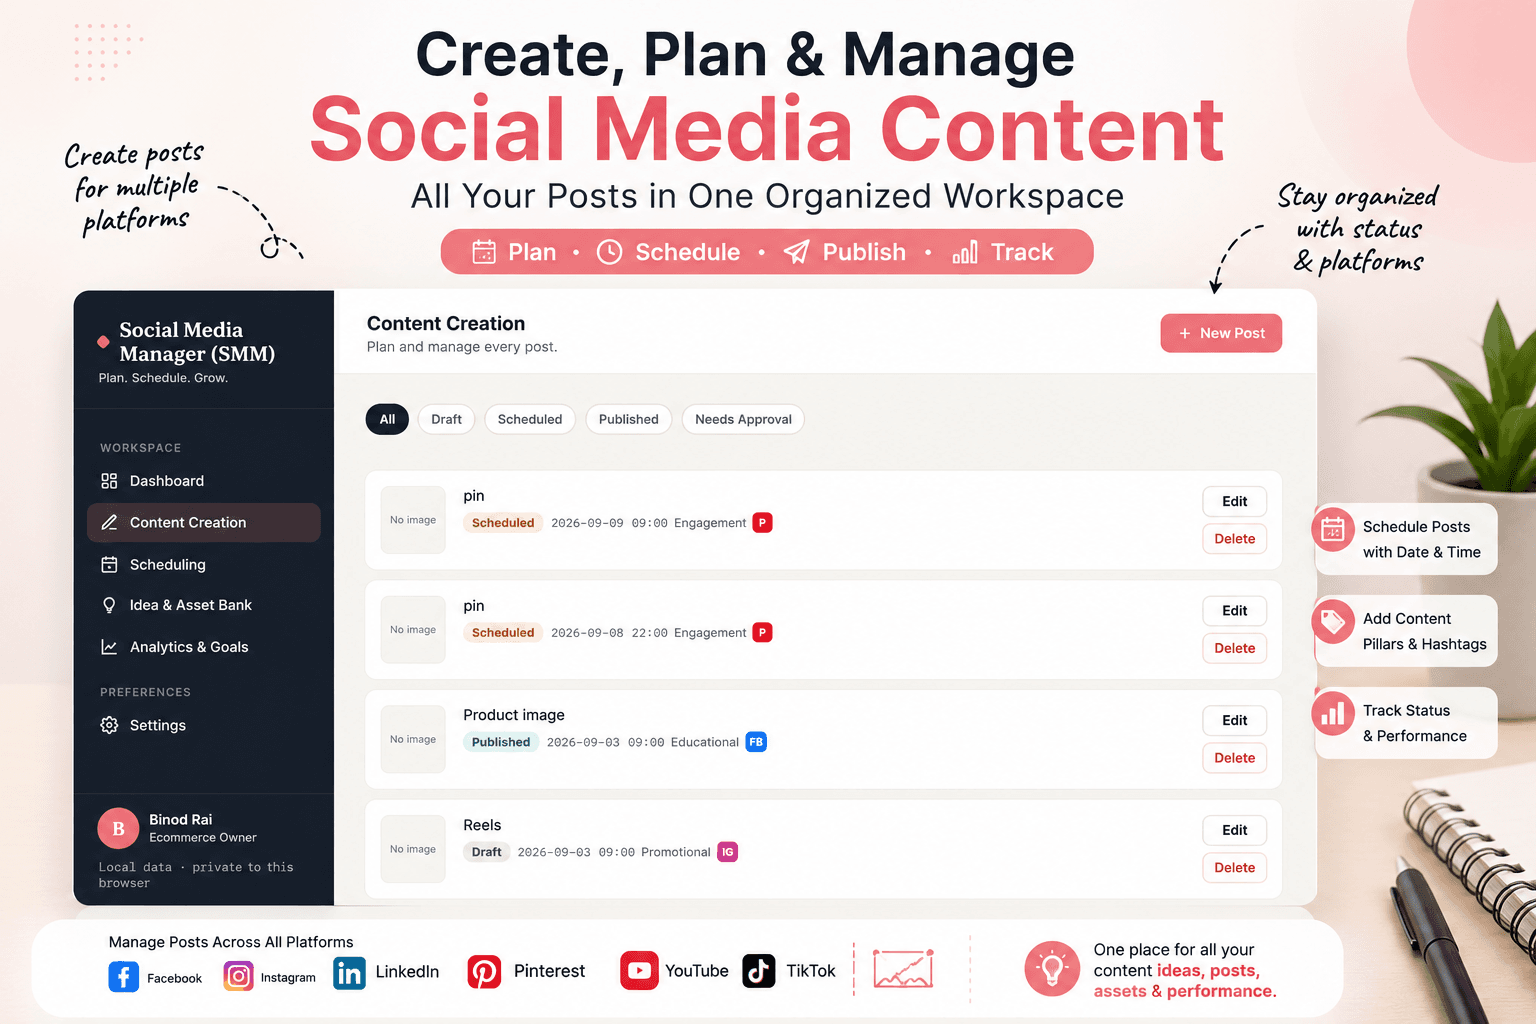
That is why I built these parts into my own Social Media Manager workflow. The dashboard brings together content creation, scheduling, ideas and assets, analytics, goals, and settings rather than treating each task as a completely separate process.
For example, when creating a post, the planner lets you select one or more platforms, add caption content, attach a media URL, choose a content pillar, set a status, select a date and time, and manage hashtags.
The available content pillars include Educational, Promotional, Engagement, and Behind-the-Scenes, while post statuses include Draft, Scheduled, Published, and Needs Approval.
This is the type of workflow I recommend if your main problem is not a lack of content ideas, but keeping everything organized after you have those ideas.
Common Social Media Content Planning Mistakes
Creating Content Only When You Need It
If you wait until the day of publication, you create unnecessary pressure. Build an idea bank and calendar instead.
Trying to Be Active Everywhere
More platforms mean more work. Start with the platforms you can realistically maintain.
Making Every Post Promotional
People generally need useful information before they become interested in a product. Mix educational, engagement, promotional, and behind-the-scenes content.
Ignoring Your Previous Content
Your old content contains useful information about what your audience responds to. Review it.
Making Your Planning System Too Complicated
If your planner takes longer to manage than your social media account, something is wrong. Keep the workflow simple.
Social Media Content Planning for Small Businesses
Small businesses often have limited time. That means the goal should not be to create the most complicated social media strategy possible.
Instead, create a system that fits your available resources.
A simple approach is:
Choose 2–3 priority platforms.
Create 3–4 content pillars.
Plan one or two weeks ahead.
Batch similar tasks together.
Repurpose strong content.
Review your results once a week.
This gives you structure without turning social media into a complicated administrative project.
About Social Media Manager
Social Media Manager (SMM) is a browser-based content planning workspace built around the practical workflow of planning, organizing, and tracking social media content.
It supports Facebook, Instagram, LinkedIn, Pinterest, YouTube, and TikTok, with dedicated areas for content creation, scheduling, ideas and assets, analytics and goals, and settings.
The app stores its planning state locally in the browser, allowing your content data to persist using browser local storage.
Click here and check Social Media Manager (SMM)
Frequently Asked Questions
A content plan is the broader strategy for what you want to publish and why. A content calendar is the organized schedule showing when and where specific content will be published.
There is no universal number of days that works for everyone. One to four weeks can be a practical starting point, depending on how quickly your content and business priorities change.
Start with goals, platforms, content pillars, content ideas, publishing dates, media, captions, hashtags, and a way to review performance.
There is no required number. Starting with three or four clear categories is often easier to manage than creating too many categories.
Yes, especially if you are managing multiple platforms, recurring content, campaigns, ideas, or posting schedules. A planner can help keep these tasks organized in one workflow
Final Thoughts
A good social media content plan does not need to be complicated. You need a clear goal, a manageable number of platforms, a few content pillars, a reliable idea bank, and a calendar that tells you what needs to happen next.
Once you add a repeatable posting routine and review your performance regularly, social media becomes much easier to manage.
The most important part is consistency. You don’t need to create perfect content every day. You need a system that makes it easier to create useful content consistently.
Start with one week.
Plan your ideas.
Organize your posts.
Publish them.
Review the results.
Then use what you learned to plan the next week.
That is how a simple social media content plan becomes a sustainable content workflow.